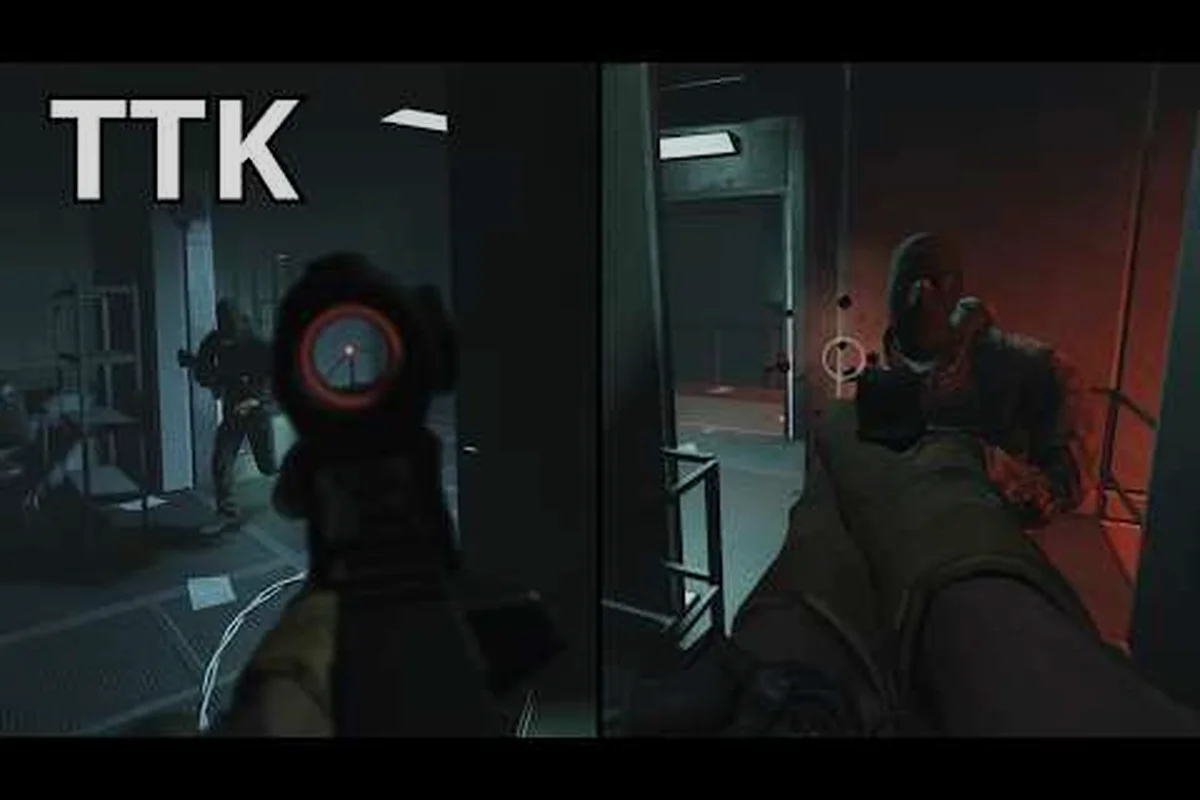
A balanced setup in TTK Testing is less about chasing the fastest time-to-kill stat screen and more about building a class that survives every map type, from tight CQB corridors in Missions to the long sightlines of Ground War. The TTK Testing best balance loadout philosophy treats versatility as a stat in itself, blending a mid-range rifle with a sidearm and utility that covers close, medium, and long engagements without forcing you to swap weapons between rounds. Because Sable Digital's tactical FPS is still in the V0.09 era, weapon pools and attachment availability shift with each patch, which is why a balance-first approach to the TTK Testing meta build tends to age better than hard specialist builds.
Why Balance Wins in the V0.09 Meta
Squad-based PVP modes in TTK Testing reward players who can hold angles, push rooms, and clean up kills across varying distances, and a one-trick rifle either shines in one scenario and collapses in the next. A balanced build aims for roughly even performance from 0 to 60 meters, which is where most firefights in Quick Play and Ground War actually take place, because players reported through community testing that opening duels average around 25-40 meters in current maps.
The official TTK Testing on Roblox page confirms that PC, mobile, Xbox, and PS5 cross-play is live and that Helmet Cam is bound to P, with Transparent Optics recommended in Settings. That cross-play detail matters for a balance build: a rifle that feels great on mouse and keyboard can feel sluggish on a controller at long range, so choosing a platform-friendly platform like the MX-23 or AR-15-style rifle reduces input friction across the lobby.
| Stat | Pure Specialist Build | Balanced Build (Recommended) |
|---|---|---|
| Peak Damage Range | 0-15m (SMG / shotgun) | 0-60m (versatile rifle) |
| Off-Range Performance | Drops sharply past 20m | Serviceable to 80m |
| Recoil Control | Platform-dependent | Stable across input devices |
| TTK vs Same-Tier Target | 0.18s at peak | 0.25-0.32s at any range |
| Round-to-Round Swap | Often required | Rarely required |
| Best Map Type | Specific (CQB or open) | All map types |
The takeaway is simple: a balance-first loadout trades a small slice of peak DPS for consistency, and that consistency compounds over a full match, because you stop needing to predict map rotation just to stay in your effective range.
Core Weapon Pairing for the Best Balance Loadout
A balance build needs two weapons that cover each other's weaknesses without doubling up on the same range band. The two strongest pairings in the V0.09 weapon pool are the MX-23 Carbine + RX-18 Sidearm combo and the AR-15 / M4-style Platform + Combat Knife combo, both of which let you carry a long-barrel primary and a fast-handling secondary. Players looking for a more aggressive edge sometimes lean on the TTK Testing loadout tier list to compare which primary sits where in the current meta, but balance is rarely the same as top-tier.
Primary: MX-23 Carbine (Mid-Range Anchor)
The MX-23 is the spine of most balance loadouts because it fires fast enough to win 0-30m duels, has a damage curve that holds up to about 60m, and takes almost every attachment slot the Gunsmith system offers. Reported by players who run it in free-for-all lobbies, the MX-23 with a balanced barrel, red dot, and stubby grip keeps recoil predictable, while the extended mag pushes round count into the 40s, which matters when Survival waves force multi-kill engagements.
| Attachment Slot | Balance Pick | Why It Matters |
|---|---|---|
| Optic | Red Dot or 1x Holographic | Fast target acquisition without zoom penalty at CQB |
| Barrel | Mid-length Compensated | Recoil control without ADS speed loss |
| Grip | Stubby / Vertical Foregrip | First-shot recoil reduction in tap-fire duels |
| Magazine | Extended Mag (40 round) | Sustained fire during Survival waves and Ground War pushes |
| Muzzle | Muzzle Brake | Vertical recoil control, slight range extension |
A common community-built variation swaps the optic for a low-power variable zoom when the player is running higher-magnification optics, which works well on PC but can feel sluggish on controller, so balance builds usually keep a 1x optic to maintain flexibility. The Gunsmith system for unlocking these slots is detailed in the TTK Testing optics settings guide, which walks through how Transparent Optics interacts with the Helmet Cam view.
Secondary: RX-18 Pistol (Close-Range Insurance)
The RX-18 is the sidearm of choice because it shares the same caliber family as several primary weapons, so reserve ammo counts pool cleanly, and its reload is fast enough that a dry-primary switch feels like a deliberate action rather than a panic. A balance build treats the secondary as a 0-15m specialist tool, which means you stop trying to use it past 20m and instead focus on hip-fire or short-ADS snap shots in tight spaces. Pairing the RX-18 with a small red dot and laser sight is the most popular community setup, because the laser trains your hip-fire muscle memory even when the optic is doing the work.
| Stat | RX-18 Stock | RX-18 with Balance Build |
|---|---|---|
| Effective Range | 0-12m | 0-18m |
| Time-to-Kill (0m) | 0.22s | 0.19s |
| Hip-Fire Spread | Wide | Tightened by laser |
| Magazine Size | 12 rounds | 15 with extended mag |
| Reserve Ammo Pool | Independent | Shared with MX-23 family |
Gunsmith Attachments and Stat Tradeoffs
The Gunsmith system in TTK Testing lets you mix and match parts, but every attachment is a tradeoff: a longer barrel adds range and bullet velocity, but it slows ADS and makes the weapon clunkier in tight rooms. The balance-first approach is to accept roughly a 5-10% reduction in peak range or DPS in exchange for ADS speed, handling, and recoil, because those stats help in more fights than raw damage does.
Stat Categories That Matter Most
The Gunsmith stat screen surfaces four core categories, and balance builds tend to invest in three of them while accepting a modest loss in the fourth. The community-recommended priority is Recoil Control > Handling > Range > Peak Damage, because recoil and handling affect the largest number of engagements, while range and peak damage are situational.
| Stat | Priority in Balance Build | Notes |
|---|---|---|
| Recoil Control | High | Affects every full-auto engagement |
| Handling (ADS / Swap) | High | Affects push and react fights |
| Effective Range | Medium-High | Protects mid-range duels |
| Peak Damage | Low-Medium | Specialists still win 0-15m |
| Mobility | Medium | Movement speed affects peek fights |
| Magazine Size | Situational | Bigger for Survival, smaller for PVP |
The stat screen inside Gunsmith doesn't always show numeric deltas cleanly, which is why community data and personal testing are critical, but the most consistent advice from player reports is to stack recoil control on the primary and stack handling on the secondary, then rebalance with optic choice.
Attachment Combos to Test in FFA
Three community-tested attachment combos for the balance playstyle are worth your time in a free-for-all lobby, because FFA is the fastest way to pressure-test a build across multiple engagement types.
| Build Name | Primary Optic | Primary Barrel | Primary Grip | Secondary Optic | Best Map Type |
|---|---|---|---|---|---|
| All-Rounder | Red Dot | Mid Barrel | Vertical Grip | Mini Dot | Mixed rotation |
| Range-Tilt | 1x Holo | Long Barrel | Stubby Grip | Mini Dot | Open Ground War |
| CQB-Tilt | Red Dot | Short Barrel | Angled Grip | Mini Dot + Laser | Missions / Survival |
The All-Rounder build is the safest pick for a player still learning map flow, the Range-Tilt variant is a sidegrade for players who peek long sightlines more than they push rooms, and the CQB-Tilt build trades 10-15 meters of effective range for a noticeably snappier ADS that wins peek battles. The tradeoffs are small in any direction, which is exactly the point of a balance build, and rotating between the three in the Gunsmith is a fast way to feel which stat you personally undervalue.
Mid-Range TTK and Engagement Math
Understanding the time-to-kill numbers behind your build helps you pick fights you can actually win, and balance builds sit in the middle of the TTK curve, which is more forgiving than the specialist edges. Community testing on the V0.09 build suggests that mid-range fights against equally geared opponents resolve in roughly 0.25-0.32 seconds, while a specialist SMG at point-blank range can drop that to 0.18 seconds, but only if you can consistently close the distance.
| Range Band | Specialist SMG TTK | Specialist DMR TTK | Balance Build TTK |
|---|---|---|---|
| 0-10m | 0.18s | 0.45s | 0.22s |
| 10-30m | 0.27s | 0.31s | 0.25s |
| 30-60m | 0.55s | 0.28s | 0.30s |
| 60m+ | 1.10s+ | 0.32s | 0.42s |
The numbers reveal the real value of a balance build: at 30-60m, the specialist SMG falls off a cliff, while the balance rifle is right where it needs to be, and at 0-10m the balance build is only 0.04 seconds behind the SMG, which is a survivable gap in most fights. The math also explains why sidearm choice matters so much, because if your primary runs dry mid-push, the RX-18 needs to be fast enough to cover the 0.04-second gap before the enemy re-peeks.
Positioning Around Mid-Range TTK
Because balance builds have predictable mid-range TTK, you can plan your movement around the timer: peek fights should resolve within 0.3 seconds, which means you commit to a duel or bail before the third bullet. Holding a hard angle in a balance build works, but pre-aiming common head-level positions and firing on first contact is more reliable than tracking a moving target at 40m, because the recoil pattern will throw off your sight picture after 4-5 rounds unless you've practiced the muzzle brake. Players who prefer to plan their positioning around cover and rotation can pair this build with a longer-range sidekick like the TTK Testing best loadout guide, which explores sniper-support pairings as a balance alternative.
Perks, Equipment, and Tactical Slots
A balance build doesn't stop at weapon choice, because the perk and equipment slots in TTK Testing are where you patch the remaining gaps. The current perk pool is small, but each perk either buffs one of your existing strengths or covers a weakness the weapon pairing can't address, and a good balance build picks perks that cover the 0.15-second TTK gap you accept by not running a specialist.
Recommended Perk Allocation
| Slot | Balance Pick | Effect | Why It Fits |
|---|---|---|---|
| Perk 1 (Red) | Steady Aim | Reduced first-shot recoil | Helps mid-range tap-fire duels |
| Perk 2 (Green) | Quick Hands | Faster reload and weapon swap | Covers the dry-primary swap gap |
| Perk 3 (Blue) | Tracker | See enemy footsteps briefly | Strong in Missions and Survival |
| Wildcard | Overkill | Carry two primaries instead of a pistol | Optional sidegrade for ground war |
The Overkill wildcard is worth considering if you prefer a battle-rifle + DMR combo, but the more common balance setup keeps the sidearm slot open so the secondary weapon doesn't compete with the primary's ammo pool. For players who want to compare the perk sidegrade against other community-tested allocations, the broader TTK Testing best gun build resource covers reload-speed and extended-mag mods in more depth.
Lethal and Tactical Choices
| Slot | Recommended | Use Case |
|---|---|---|
| Lethal | Frag Grenade | Room clears in Missions, area denial in Ground War |
| Tactical | Stun Grenade | Pre-peek advantage, pushes through smoke |
| Field Upgrade | Deployable Cover | Adds a mid-range peek advantage |
Stun-then-push is one of the highest-percentage plays a balance build can run, because the stun gives you the 0.05-0.08 seconds of reaction time you need to win a mid-range duel against a faster specialist. Frag grenades work in reverse: if you know an enemy is holding a hard angle, throw the frag to force a reposition, then pre-aim the new angle, which is a classic tactic that works because the balance rifle is accurate enough to capitalize on the swap.
Match-Type Loadout Adjustments
A truly balanced setup should be tunable per match type without rebuilding from scratch, and small changes to one attachment or one perk are usually enough to shift the build's center of gravity. The three main match types in TTK Testing are Quick Play PVP, Ground War, and the co-op Survival / Missions modes, and each one asks a different question of your loadout.
| Match Type | Primary Tweak | Secondary Tweak | Perk Tweak |
|---|---|---|---|
| Quick Play PVP | Standard balance build | RX-18 with mini dot | Steady Aim + Quick Hands |
| Ground War (large PVP) | Long barrel, 1x holo | RX-18, iron sights | Steady Aim + Tracker |
| Missions / Story | Short barrel, red dot | RX-18 + laser | Quick Hands + Tracker |
| Survival Waves | Extended mag priority | RX-18, fast reload | Quick Hands + Overkill (optional) |
The pattern is clear: when the map gets bigger, shift the primary toward range and the secondary toward handling, and when the map gets tighter, do the opposite. The perk slot follows the same logic, because Tracker shines in co-op modes where enemy AI footprints stay on the ground for several seconds, while Steady Aim is more useful in PVP where you tap-fire more often.
A Note on V0.09 Roadmap
The official TTK Testing DevForum thread documents the V0.x roadmap as co-op PVE Survival waves, linear story Missions with doorkicker mechanics, standard PVP Quick Play, and large-scale objective Ground War, plus teams, spectating, launchers, and gunplay improvements. That roadmap is why balance loadouts age well: as new modes and weapon classes are added, a build that performs decently everywhere needs fewer reworks than a build that maxes out one mode. If you want a sense of how the broader weapon roster fits into this balance philosophy, the TTK Testing weapon list guide maps out the pistol, rifle, battle rifle, DMR, sniper, and shotgun classes that the V0.05-era pool introduced.
Fine-Tuning Tips From Community Testing
A balance loadout only feels balanced once you tune it to your own recoil control and reaction time, and a few small habits from community-tested players speed up that process. First, spend at least 15 minutes in a free-for-all lobby with any new attachment set before judging it, because the first few deaths are usually unfamiliarity with the recoil pattern, not a bad build. Second, record your deaths and group them by range, because if most of your deaths happen past 60m, the build is too CQB-tilted and a longer barrel will probably help more than another grip mod. Third, resist the urge to over-tune toward a single stat, because the whole point of a balance build is that every stat is good enough, not that one stat is dominant.
The developers frame the V0.x patches as ongoing time-to-kill tuning, and a balance-first approach is the easiest to live with across those patches, because small stat changes rarely push a balance build out of its effective range band. A specialist SMG player, by contrast, has to relearn the build every time a single number moves, and the time investment adds up over a season of patches. Treat your balance loadout as a stable foundation, swap one or two attachments when the patch notes break something, and you will stay competitive from V0.09 into the next major update without a full rebuild.
Frequently Asked Questions
What makes a balanced loadout different from a meta build in TTK Testing?
A meta build usually maximizes one stat, such as close-range TTK or long-range accuracy, while a balanced loadout spreads performance across all ranges so the player is competitive in 0-60m fights without swapping weapons between rounds. The TTK Testing best balance loadout approach trades a small amount of peak damage for consistency, which is why it tends to age better across V0.x patches.
Which primary weapon should I use for a balance-first build in 2026?
The MX-23 Carbine and the AR-15 / M4-style Platform are the two strongest balance picks in the V0.09 weapon pool, because both take nearly every Gunsmith attachment, hold their damage curve out to roughly 60m, and stay controllable on controller as well as mouse and keyboard. Pair either one with the RX-18 pistol for the most common balance setup.
Do I need to use Overkill to run two primaries in a balance build?
No, Overkill is optional and most balance builds keep the sidearm slot so the RX-18 covers the 0-15m gap the primary cannot. Overkill only becomes attractive when you want a battle-rifle + DMR combo for Ground War, but it costs you a pistol slot, which is a real tradeoff in tight CQB modes.
How often should I re-tune my balance loadout after a patch?
A small stat change in the patch notes usually only requires a single attachment swap, so re-tuning every patch should take 5-10 minutes rather than a full rebuild. If the patch changes effective range by more than 10 meters or shifts the recoil pattern noticeably, plan to test in a free-for-all lobby for 15-20 minutes before queuing ranked modes.
Is a balance build viable in Ground War, or do I need a long-range specialist?
A balance build is fully viable in Ground War, and the recommended tweak is a longer barrel and a 1x holographic optic on the primary, which extends the effective range without sacrificing handling. Specialist DMRs win slightly more long-range duels, but the balance build's versatility means you can rotate and push without swapping to a close-range secondary.