Loadouts
Best TTK Testing loadouts for every playstyle — aggressive, passive, close-range and long-range — with time-to-kill and bullets-to-kill thinking, attachment combos and current-build recommendations for the Roblox FPS.
Introduction
The Loadouts hub is where the weapons, the gunsmith and the time-to-kill system of TTK Testing come together into practical builds you can copy straight into the game. TTK Testing, the realistic tactical FPS by Sable Digital running on Roblox, is in an open community test centred on free-for-all and Hardpoint with map voting, and the community has already settled on a handful of loadout archetypes that match different playstyles and map types. Because the studio has not published official damage tables, the loadout recommendations here are based on community video testing of the current build — they describe range logic, attachment combos and engagement planning rather than fabricated stats. The goal is simple: instead of guessing, you pick an archetype that fits your playstyle and map, copy the pairing, and spend your session executing the plan. The archetypes covered include aggressive close-quarters builds, patient long-range setups, balanced all-rounders, one-shot sniper specialists and entry fraggers built around flash grenades.
Loadout Archetypes Reference
| Archetype | Weapon Pairing | Key Attachments | Best Mode |
|---|---|---|---|
| Aggressive CQB | Shotgun or high-rate rifle | Red dot + angled grip | Hardpoint |
| Patient Long-Range | Sniper or DMR | Sniper scope / ACOG + compensator | FFA |
| Balanced All-Rounder | AR-15 / M4 platform | Holographic + vertical grip | Any |
| One-Shot Specialist | Bolt-action sniper | Sniper scope + suppressor | FFA |
| Entry Fragger | Rifle platform | Red dot + flash grenades | Hardpoint |
Archetype Breakdown
Aggressive CQB
Close-quarters power for rooms and Hardpoint zones
Patient Long-Range
Controlled precision on the long sightlines
Balanced All-Rounder
The default build for learning the game
One-Shot Specialist
Maximum precision with a bolt-action sniper
Entry Fragger
Flash grenades and aggressive objective entry
Core Mechanics
A loadout in TTK Testing is built around one core question: what engagement range do you plan to fight at on the selected map? The weapons hub describes the classes and the gunsmith hub describes the attachments; the loadout combines the two into a coherent plan. The aggressive close-quarters archetype pairs a shotgun or a high-rate rifle with a red dot sight, ideal for the tight rooms and Hardpoint zones of the current maps. The patient long-range archetype pairs a sniper or DMR with a magnified optic on long sightlines. The balanced all-rounder is the default recommendation for new players: an AR-15 or M4-style platform with a holographic sight and a vertical grip handles most situations competently. The one-shot specialist trades everything for single-shot eliminations, and the entry fragger uses flash grenades to disorient enemies before pushing an objective. Time-to-kill thinking runs through all of them: you choose loadouts that win fights at your intended range, not gear that covers every possibility.
Advantages
Copying a proven archetype saves you the expensive trial-and-error of learning realistic gunplay by dying. Each loadout is self-consistent: the weapon, the attachments and the engagement plan reinforce each other, so you walk into the lobby with a clear idea of how to win fights. The archetypes map directly to the two live modes — aggressive and entry-fragger builds shine on Hardpoint, while long-range and one-shot builds dominate free-for-all — which makes loadout selection a strategic choice rather than guesswork. Because the recommendations are community-tested against the current build, you are not relying on outdated patch notes or fabricated stats. And with the time-to-kill calculators and range logic explained here, you can adapt the archetypes when a map rotates or a patch changes the meta.
Challenges
Loadout recommendations carry the same data limitation as the rest of the wiki: Sable Digital has not published official damage or time-to-kill tables, so every archetype strength is community-tested rather than confirmed. Balance changes quickly between V0.x patches, which means a loadout that dominated the previous build can become weak after the next tuning pass — the hub is updated as evidence arrives, but there is always some lag. The current roster is also small, so the archetype list reflects what exists in the test build today; launchers and future modes will demand entirely new loadouts. Finally, a loadout is only as good as the player executing it: the one-shot specialist, in particular, has a high skill floor and punishes missed shots brutally.
Frequently Asked Questions
What is the best loadout for beginners in TTK Testing?+
How does time-to-kill affect loadout choice?+
Should I copy loadouts from videos?+
Quick Tips
Choose your archetype after the map vote: on close-quarters maps commit to an aggressive or entry-fragger build, on long-sightline maps take a patient or one-shot build, and use the balanced all-rounder when you are not sure. Matching the loadout to the geography is the single fastest way to raise your win rate in the current test build.
Test every attachment change in the gunsmith before queueing: recoil feels different on every platform and sensitivity setup, so the exact grip that works for a YouTuber may not work for you. Spend five minutes confirming the recoil pattern is stable at your intended engagement range — it converts a copied loadout into your own tuned build.
Learn to disengage: no loadout wins every fight, and recognizing a losing duel early — a sniper watching your lane, a shotgun waiting in a room — saves your life for the next objective. In Hardpoint especially, falling back to the next zone is often the stronger play than forcing a bad fight to keep your frag count.
Featured
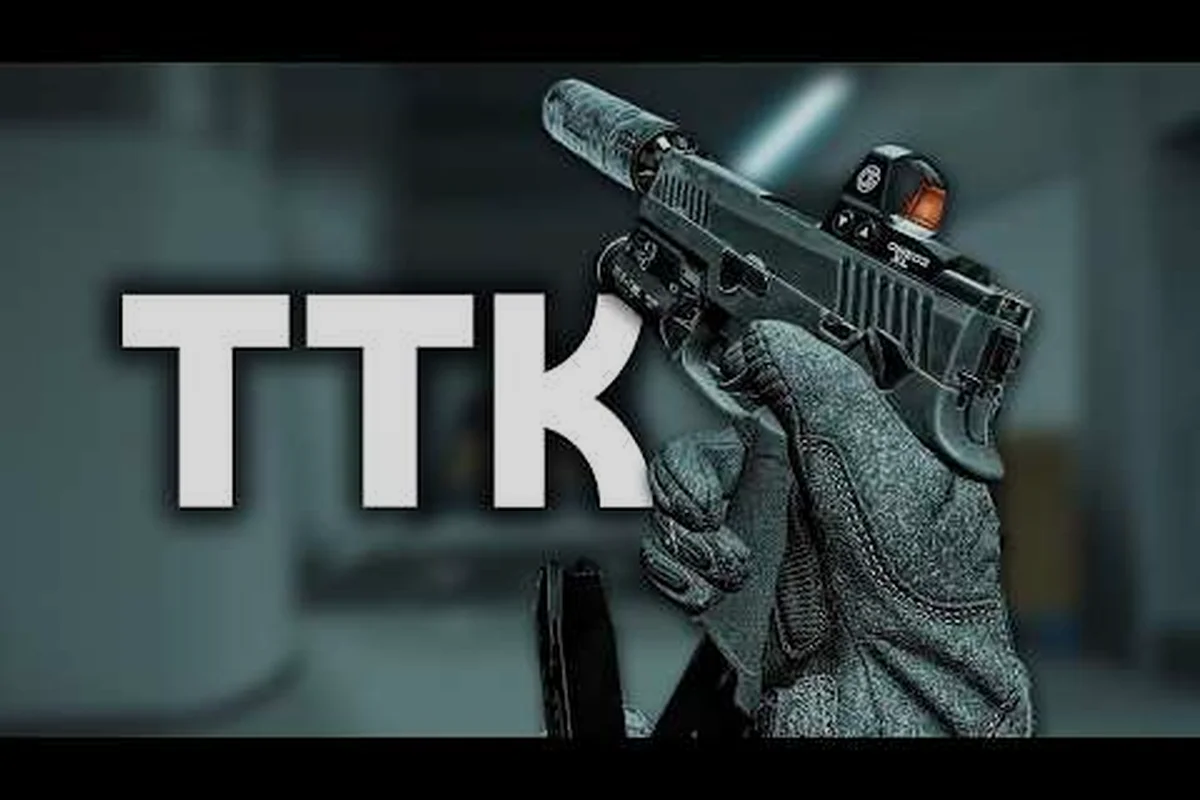
TTK Testing Beginner Loadout: Starter Weapons & Recoil Tips
Set up a TTK Testing beginner loadout with starter weapons and easy attachments, then learn recoil control before entering your first FFA lobby.
TTK Testing Best Loadout: Meta Class Setup & Builder Tips
Build the TTK Testing best loadout with meta class setups, attachment combos, and builder choices tuned for the current V0.05 patch meta.
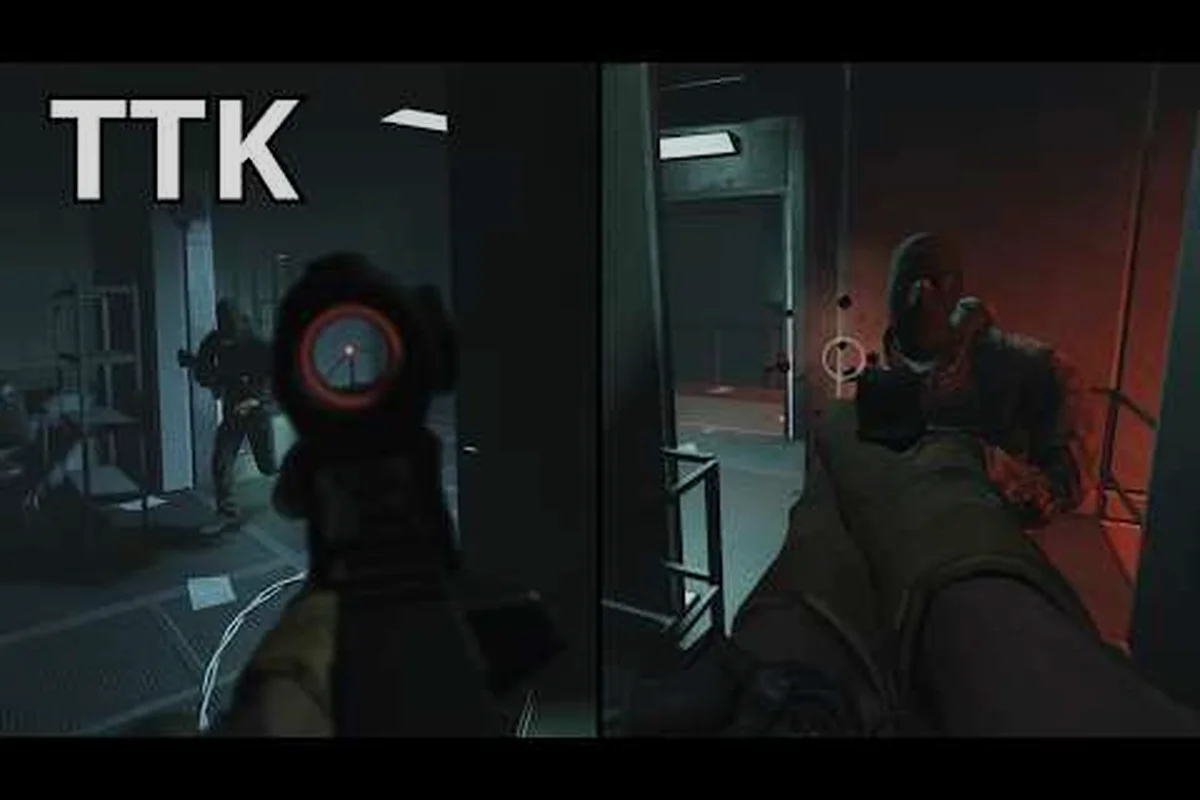
TTK Testing Best Balance Loadout: Attachments & Versatility
Find the TTK Testing best balance loadout with mid-range weapon pairings, Gunsmith attachments, and stat tradeoffs that keep you competitive in any firefight.
All Articles
TTK Testing Best Gun: TTK Calculator, Damage & Combos
Find the TTK Testing best gun using the TTK calculator, damage stats, and attachment combos that drop enemies fastest at every range.
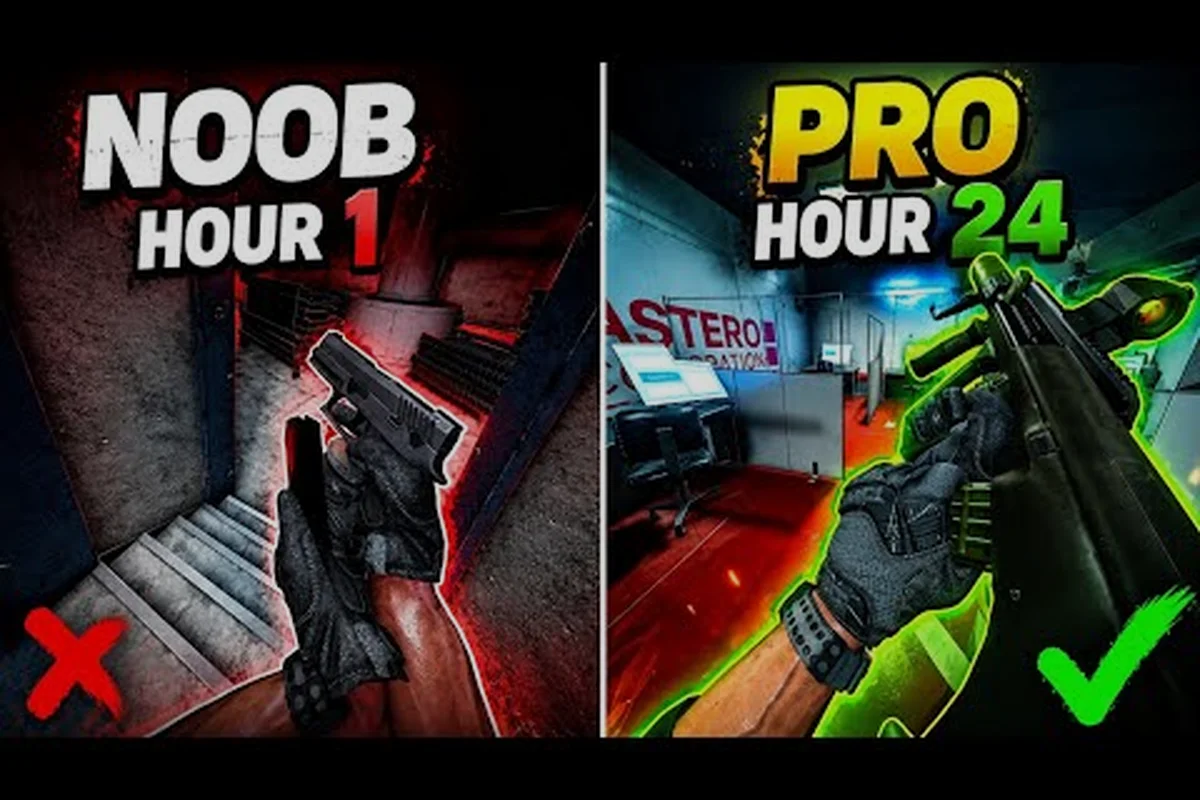
TTK Testing Loadout Tier List: Meta Builds Ranked & Compared
Rank every TTK Testing loadout from S to C tier, comparing meta weapon pairings, Gunsmith combos, and which setups dominate the current V0.05 patch rotation.
TTK Testing Aggressive Loadout: Rush, CQB & Sniper Builds
Push every fight with a TTK Testing aggressive loadout covering rush, close-quarters, and sniper builds that trade defense for pure first-shot pressure.