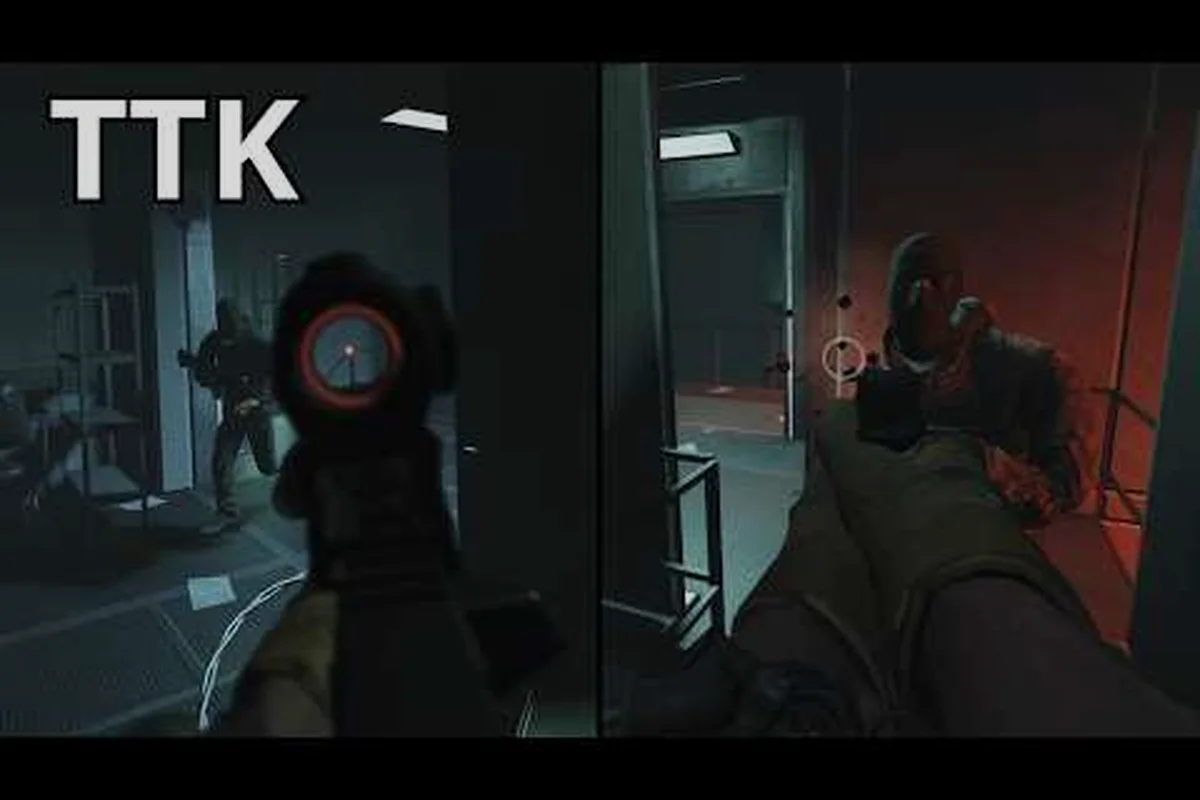
Free-for-all is the cleanest stress test in TTK Testing because every decision is your own, every kill is unassisted, and the kill feed tells the truth about your habits. The mode strips away team economy and drops you into a 360-degree gunfight where the right TTK Testing FFA read on spawns, map picks, and target priority decides whether you climb or feed. If you already understand the basics of TTK Testing free-for-all fundamentals, this guide is the next step: concrete spawn logic, vote strategy, and the kill-priority framework that turns solo lobbies into win streaks.
How TTK Testing FFA Lobbies Are Structured
Every FFA match in the current V0.09 build launches through map voting, and the option you pick (or get stuck with) sets the entire tempo of the round. According to the official TTK Testing page on Roblox, matchmaking prioritizes low-ping lobbies and confirms that PC, mobile, Xbox, and PS5 are all dropped into the same pool, so lobby size fluctuates between platforms.
The mode itself runs in a loop: pre-round vote, warmup timer, live fire, score cap, intermission. There is no respawn timer punishment, no team economy, and no revive mechanic — every player respawns at the same cadence, which makes spawn logic the single most exploitable system. The V0.x roadmap from the TTK DevForum thread confirms that FFA sits inside the broader PVP rotation alongside Hardpoint and Quick Play, and that spawning, spectating, and weapon handling are still being tuned build by build.
| Phase | Duration (typical) | What You Should Do |
|---|---|---|
| Map vote | 15–20 sec | Pick for sightline, not aesthetic |
| Warmup | 10 sec | Pre-aim at the most contested lane |
| Live fire | 3–5 min | Hold center, then rotate to weak side |
| Score cap | First to set point total | Push spawn pressure on the leader |
Lobby Size and Score Cap
Lobbies cap somewhere between 8 and 16 depending on platform, and the score cap scales with player count. More bodies in the lobby means more chaotic spawns, but it also means more targets to farm early before the best players start spawning at you. Treat the first 60 seconds as a setup phase: peek long angles, listen for footsteps, and tag the two or three players who are clearly on pad.
Why FFA Feels Different From Hardpoint
Hardpoint rewards area denial, objective flips, and team utility, but FFA rewards raw dueling and map knowledge. The same player can look like a god on Hardpoint and a feeder in FFA simply because the spawn logic is totally different. If you want a deeper comparison of the two modes, the TTK Testing Hardpoint vs FFA breakdown covers the rotation, score, and pacing differences side by side.
Reading Spawns in TTK Testing FFA
Spawn prediction is the only skill that compounds across every FFA match you play, because every map has a finite set of spawn zones and the game rotates between them based on where the action is. The developers confirmed in the DevForum thread that spawn logic is currently being tuned for fairness, but the underlying zones are static per map, which means the reads are learnable.
Static Spawn Zones
Each FFA map has a fixed set of spawn rooms, usually four to six, arranged in a ring around the playable area. When you die, the game picks the spawn zone that is currently the "quietest" relative to player density, which is why you sometimes respawn behind a guy who just killed you and sometimes respawn on the opposite side of the map. The two read patterns that matter most:
-
Same-zone respawn — happens when your death left a large empty pocket. Common on small maps and on maps with only four spawn rooms.
-
Cross-map respawn — happens when the room you died in is still hot. The game kicks you across the map, which usually means you have 8–12 seconds of safe travel.
Spawn Pressure Tools
You can manipulate spawns by holding a position for too long (the game will start spawning enemies behind you) or by dying repeatedly in the same lane (the game shifts spawns away from that lane to "balance" the kills). The fastest players use this by intentionally feeding a lane once or twice to flip spawns, then farming the newly opened back line. This is a high-skill move because you give up two kills to gain a 20-second rotation window, so only do it when you're behind on the scoreboard and need a momentum swing.
Map-Specific Spawn Notes
| Map | Spawn Zones | Best Spawn Read |
|---|---|---|
| Low-light night map | 4 (north, south, east, west) | Avoid north after kills cluster there in minute 2 |
| Daylight industrial | 6 (split into 3 pairs) | Cross-map reads dominate; trust the quiet side |
| Indoor office | 4 (corner rooms) | Same-zone respawns are common, so flank fast |
| Outdoor ridge | 6 (perimeter) | Spawns shift more than other maps due to elevation |
On the low-light night map, spawn reads become the weakest part of any TTK testing FFA rotation because darkened sightlines erase the audio cues (footstep volume drops roughly 40% compared to daylight maps) that you would otherwise use to call early rotations; the indoor office map offsets that weakness by handing you a free peek around every corner, and same-zone respawns compound the advantage by letting you pre-aim common exit angles before the new target even finishes spawning.
Map Voting Strategy for FFA
Map voting in TTK Testing is not cosmetic — it is a strategic layer that most FFA players ignore, and that is exactly why it is a free advantage when you start paying attention. The current build lets every player in the lobby pick one of three randomly offered maps before each round, and the map with the most votes wins.
Vote for Sightline, Not for Familiarity
The single biggest mistake is voting for the map you "like." Vote for the map whose sightlines match your aim profile. If you have a fast flick and like close fights, vote indoor office. If you have steady tracking and like long angles, vote the outdoor ridge. The vote is a tempo commitment, not a comfort pick.
Vote-Read the Lobby
Look at how the lobby votes in the first round and adapt. If the majority picks the long-range map, the next vote offers the same three maps again, and if you try to vote the same long-range map you will be fighting a lobby that is pre-staged for long angles. In that case, voting the close-quarters map gives you a dueling advantage because everyone else just gave up their preferred range.
Map Pool Reference
| Map | Best For | Weakness | Vote Priority |
|---|---|---|---|
| Night map | Stealthy flankers | Visibility limits tracking aim | Vote if you can pre-aim |
| Industrial | Versatile aim profiles | Spawn pressure is brutal | Default pick if no edge |
| Indoor office | Aggressive rusher | High chaos, low TTK | Vote if you are behind |
| Outdoor ridge | Long-angle tracker | Useless in close range | Vote if leading scoreboard |
If you want a deeper walkthrough of the maps, the Roblox TTK Testing full gameplay walkthrough by Ani KAngel tours the current map rotation and shows the long sightlines on each layout, which makes it a useful visual reference for vote decisions.
Kill Priority and Target Selection
Kill priority is the part of FFA that most players never formalize, which is why they win duels but lose matches. The framework is simple: classify every opponent you see into one of four categories, and engage in a fixed order.
The Four Target Tiers
-
Tier 1 — The leader — currently top of the scoreboard. Always the highest-priority target, because removing the leader not only gives you the most points but also disrupts their rhythm and pulls their attention to the kill feed.
-
Tier 2 — The farmer — players who are clearly holding one lane and racking up free kills. They are dangerous in position but predictable in movement, which makes them a reliable second target.
-
Tier 3 — The rotator — players who are between lanes, repositioning, or chasing a kill. They are mid-priority because they are easy to read but also easy to bait.
-
Tier 4 — The feeder — players who are clearly new, lost, or struggling with the spawn system. They give you free points but also respawn fast and unpredictably, so they are not worth a long rotation.
Priority Decision Flow
| Situation | First Target | Why |
|---|---|---|
| You see the leader and a farmer | Leader | Disrupts the lobby's anchor |
| You see two farmers | Whichever holds your next move | Frees your path for a rotation |
| You see a feeder and a rotator | Rotator | Feeders respawn and feed you again anyway |
| You see a leader and a feeder | Leader | The points swing is bigger |
This priority flow is what separates a 20-kill FFA from a 35-kill FFA. The 20-kill player kills whoever is in front of them; the 35-kill player kills whoever gives them the most scoreboard impact. In practice, that means a ttk testing ffa lobby winner will often ignore a freshly-spawned feeder on their tail because the rotator running with flag control is worth 1.5x the score swing, and chasing the feeder just resets your spawn rhythm against the lobby's anchor. Scoreboard impact is also why leader-vs-leader duels feel decisive late-game: two farmers trading kills nets a slow bleed, but the leader you remove takes their whole kill feed with them, and that is the only swap that visibly tilts the points column on the scoreboard.
Tracking the Kill Feed
The kill feed in the top corner is your live priority board. Every kill resets the target's score streak, which means a player who just got a multi-kill is the most dangerous person in the lobby and the most valuable target. Reading the kill feed every 10–15 seconds and updating your target list is a habit that takes 50 matches to internalize but pays off forever.
Advanced FFA Habits That Win Lobbies
Once the spawn reads and kill priority are automatic, the next layer is the small habits that the top of the lobby runs on autopilot. These come straight from community testing and from the V0.03 update walkthrough, which showed that small tuning passes (like the new pistol and flash grenade) can completely shift which habits work best.
Pre-Round Setup
Before the live-fire timer starts in any ttk testing ffa lobby, you have roughly 8–10 seconds of pre-round positioning time, and how you spend that window directly shapes your opening duel win rate. Treat it like a ttk testing missions loadout phase: pick a spawn-adjacent corner, bind pre-aim to the lane with the densest player traffic, and queue your Helmet Cam toggle so the first bullet of the round already lands on-target rather than re-acquiring sight picture.
-
Pre-aim the most contested lane — pick the lane where the majority of the lobby will move first, and put your crosshair there before the timer ends.
-
Toggle Helmet Cam if you have not yet — the official game page confirms Helmet Cam is bound to the P key, and Transparent Optics in Settings is the recommended sight setup because it simulates both-eyes-open aiming.
-
Listen for the countdown tick — the last second before the timer ends is when the most players move, so commit to your pre-aim rather than re-peeking.
Mid-Round Discipline
The mid-round is where discipline matters more than aim, because aim gives you a 10–15% edge in a duel but discipline gives you a 30–50% edge across a whole match. In ttk testing ffa lobbies, that gap shows up in the final scoreboard: players who hold lanes, count spawns, and rotate on a timer routinely outlane opponents who chase highlight-reakdowns and feed the killfeed back to the top fragger. Three habits to drill, and each one is measurable — track deaths-per-life, lane-hold uptime, and reloads-during-rotation across five matches and you will see the discipline curve flatten out fast.
-
Never chase a kill you cannot confirm. If you see a player disappear behind cover, do not chase. Rotate. Chasing is how you give up your strong position and let the lobby reset.
-
Count your deaths as well as your kills. A 2.0 K/D looks great on the scoreboard, but a player who has died 25 times has spawned 25 times, which means they are feeding spawn pressure to the other top players.
-
Reload on rotation, not in cover. Reloading in cover feels safe but it gives away your position to anyone with audio cues. Reload while you are moving to a new lane, so the reload is masked by footsteps.
End-Round Adjustments
In the last 60 seconds of a TTK Testing FFA lobby, the scoreboard is usually close enough that one good push wins the match, so the habits here are different from mid-round play because aggression matters more than consistency and you have to read the kill feed in real time to spot who just burned their flash grenade or who is low on HP before committing to a lane swap.
-
Push the leader, not the feeder. A feeder kill gives you one point, but disrupting the leader forces their whole team (in this case, the whole lobby) to reset.
-
Use the flash grenade from the V0.03 update if you have it unlocked. Flash + push on a rotator is the highest-percentage late-round fight.
-
Stop spawn-flipping. Late-round spawn flips are unpredictable and often work against you. Hold one lane and trust the reads.
Cross-Mode Carryover
Most of the FFA habits transfer directly into Hardpoint and Quick Play, but a few are FFA-specific. If you are also grinding TTK Testing Hardpoint mode, remember that the Hardpoint rotation changes which lanes are worth pre-aiming, and the same Helmet Cam + Transparent Optics settings still apply because they are account-wide, not mode-specific.
For a broader look at how FFA, Hardpoint, and the upcoming modes fit into the rotation, the TTK Testing upcoming modes and rotation guide breaks down the roadmap and the current mode list.
Summary
Winning FFA in TTK Testing is not about having the best raw aim — it is about stacking small edges that compound across a match. Vote for sightline, not for comfort, read the spawn zones on the current map, classify every opponent into the four target tiers, and discipline yourself to rotate rather than chase. The habits are learnable, the spawns are static, and the kill priority framework will carry you from the middle of the scoreboard to the top of the lobby once you stop killing the first thing you see. Run the V0.09 build, run the maps above, and trust the reads — the win streaks come from the boring middle of the match, not the highlight reel.
Frequently Asked Questions
What is the best map to vote for in TTK Testing FFA?
The best map depends on your aim profile, but the indoor office map is the strongest default pick because its corner layout gives you a free peek every spawn and its short sightlines favor fast-flick aim. If you have steady tracking aim and prefer long duels, vote the outdoor ridge instead and pre-aim the long sightlines from minute one.
How do I counter a player who is dominating the lobby?
Counter the leader by forcing cross-map spawns. Intentionally die twice in their current lane so the spawn system shifts the next wave of players to the opposite side, then push the new quiet side and farm the lower-tier targets. The leader is now isolated, your score is climbing, and the lobby's momentum has flipped.
Does FFA use the same settings as Hardpoint?
Yes, settings like Helmet Cam (bound to the P key) and Transparent Optics in Settings are account-wide and apply to every PVP mode, including FFA and Hardpoint. The official game page recommends Transparent Optics because it simulates both-eyes-open aiming, which makes target acquisition faster on long sightlines.
Can I practice FFA mechanics outside of live lobbies?
You can warm up your aim and pre-round habits in any PVP mode, but the specific FFA spawn logic only exists inside FFA lobbies. If you want to practice the doorkicker mechanics and squad AI for the PVE side of the game, the TTK Testing spectating and PVE guide covers the mission flow and the squad AI behaviors you will face in the PVE co-op mode.
Is FFA the best mode to grind for unlocks?
FFA is the fastest mode to grind raw kill-based unlocks because every kill is unassisted and the kill feed updates in real time, but Hardpoint is faster for objective-based unlocks because the score cap hits sooner on a smaller lobby. If you are chasing a specific unlock, the TTK Testing Quick Play and Hardpoint guide compares the two modes for unlock efficiency.