Tuning your TTK Testing video settings changes how the entire tactical shooter feels under your hands, from the way lean peeks reveal a doorway to the speed at which your crosshair settles on a moving target. Because TTK Testing is a Roblox-based tactical FPS that targets PC, mobile, Xbox and PS5 with maximum compatibility, the settings menu is built around flexibility rather than raw graphical fidelity. This guide walks through every major control and display option that influences combat feel, so you can stop fighting your inputs and start winning more duels.
Where the Video Settings Menu Lives and What It Controls
The first thing every new player notices is that TTK Testing separates its preferences into two distinct panels inside the in-game settings. The Video tab houses rendering choices such as Field of View (FOV), Fullscreen mode, and quality presets, while a separate Controls tab holds the Keybinds and Mouse Sensitivity sliders that govern actual gameplay. According to the official TTK Testing page on Roblox, the dev team pins Helmet Cam to the P key and recommends enabling Transparent Optics in the settings to simulate both-eyes-open aiming, which is a setting that lives right next to the regular FOV slider.
| Settings Tab | Primary Purpose | Key Options | Default Behavior |
|---|---|---|---|
| Video | Render quality, frame pacing, screen layout | FOV, Fullscreen, Quality preset, Motion Blur | 75 FOV, Borderless window, Quality preset auto |
| Controls | Input mapping, aim feel, button layout | Mouse Sensitivity, ADS Sensitivity, Keybinds, Helmet Cam toggle | M1 fire, M2 ADS, P Helmet Cam, C crouch |
| Audio | Footstep audio, comms, ambience | Master volume, footstep boost, hit markers | Master 80%, footsteps emphasized |
| Gameplay | Crosshair, reticle color, HUD scale | Crosshair type, hit indicator, HUD opacity | Center cross, white, default opacity |
The split keeps input tuning away from rendering sliders, which matters because most tactical FPS players treat ttk testing advanced settings as a layered system: graphics first for visibility, then aim sensitivity, then bind layout. Skipping the second layer is the most common reason new players report that the game "feels slippery" even after cranking the quality preset down to the lowest option. For a deeper breakdown of crosshair, reticle color, and HUD scale options, the TTK Testing crosshair guide covers every reticle preset the live build ships with.
FOV, Transparent Optics, and Visibility Tuning
Field of view is the single most impactful video setting in any tactical shooter, and TTK Testing handles it in a way that rewards both casual and competitive players. The ttk testing fov slider runs on a per-camera basis because the game ships two distinct view modes: standard first-person and the signature Helmet Cam triggered by P. Standard first-person can be pushed from the default 75 up to 110, while Helmet Cam has a slightly tighter cap because the helmet frame already eats some of your peripheral vision.
| FOV Value | Practical Effect | Best Use Case | Trade-Off |
|---|---|---|---|
| 65–70 | Targets appear larger, easier to read at range | Long sightlines, sniping lanes | Less peripheral awareness, easier to get flanked |
| 75 (default) | Balanced between awareness and target size | Mixed PVP, FFA, Hardpoint | Solid baseline, no specific weakness |
| 85–95 | Wider peripheral vision, smaller targets | CQB, doorkicker missions, indoor maps | Targets feel further, recoil tracking gets harder |
| 100–110 | Maximum awareness, fish-eye distortion at edges | Aggressive flanks, console players on smaller screens | Distorted edges can hide enemy silhouettes |
Pairing FOV with Transparent Optics is the second pillar of TTK Testing's visibility system. When Transparent Optics is on, the optic housing becomes semi-transparent, which is designed to mimic the "both eyes open" technique real tactical shooters teach. The official description recommends this toggle because it lets you keep your non-aiming eye on the minimap or on the doorway you just leaned past, which directly increases your survival window during a peek-and-fire exchange. For a full look at how ttk testing sensitivity interacts with optic clarity, the TTK Testing ADS sensitivity guide documents every slider that affects your sight picture through a red dot or holographic reticle.
Motion Blur and Frame Pacing
The Motion Blur toggle is the other visibility setting that experienced players flip immediately. In a game where the headline mechanic is literal time-to-kill measurement, motion blur smears the trail of a sprinting opponent and makes leading your shot harder. Leaving it on is fine for casual play, but if you are trying to track a strafing target in Ground War, the recommended community setting is Off. Frame pacing matters more than absolute resolution: the game supports up to 144 FPS on PC, and most players who have switched from a 60 Hz monitor to a 144 Hz panel report a substantial improvement in target acquisition speed.
Sensitivity Sliders and Aim Feel
Sensitivity is the heart of ttk testing sensitivity and deserves its own treatment because TTK Testing splits aim into three separate axes rather than the usual two. Mouse and keyboard players get Hipfire Sensitivity, ADS Sensitivity, and Zoom Sensitivity, while controller players get a single combined stick sensitivity plus aim acceleration toggles. The split matters because every optic in the game has a different magnification, and a single global sensitivity forces you to compromise between close-quarters tracking and long-range hold angles.
| Sensitivity Type | Default | Recommended Starting Range | What It Governs |
|---|---|---|---|
| Hipfire | 1.0 | 0.8–1.2 | Crosshair movement while not aiming down sights |
| ADS | 0.8 | 0.6–1.0 | Crosshair movement while holding M2 (aim down sights) |
| Zoom | 0.5 | 0.35–0.6 | Crosshair movement at maximum optic magnification |
| Controller Stick | 50 | 40–55 | Left stick aim on gamepad, includes acceleration toggle |
| Mouse DPI (external) | N/A | 400–800 | Outside the game, set in your OS or mouse software |
A common community workflow is to set Hipfire to 1.0, drop ADS to 0.7, and then drop Zoom to roughly 0.45, which gives a natural ramp where the higher the magnification, the slower the crosshair moves. This pyramid of sensitivities is what most tactical FPS veterans run because it keeps micro-adjustments precise at range while still allowing quick flicks up close. If you are playing on console, the controller stick sensitivity follows a similar pyramid, with the addition of an Aim Acceleration toggle that smooths stick deflection near the center. Players who want a deeper controller-specific walkthrough should look at the TTK Testing PS5 settings guide, which maps every input slot for DualSense users.
DPI, Polling Rate, and In-Game Math
The DPI you set in your mouse software multiplies directly into the in-game sensitivity, so the relationship is multiplicative rather than additive. A 1600 DPI mouse running the default 1.0 hipfire sensitivity will feel roughly twice as fast as the same mouse at 800 DPI. Polling rate (the rate at which your mouse reports position to the PC) does not appear in the settings menu but is reported by players to make micro-tracking feel smoother at 1000 Hz versus the default 125 Hz. The game does not expose raw input, so most players leave their mouse acceleration disabled in Windows or macOS to keep the in-game feel predictable.
Keybinds, Helmet Cam, and Combat Slots
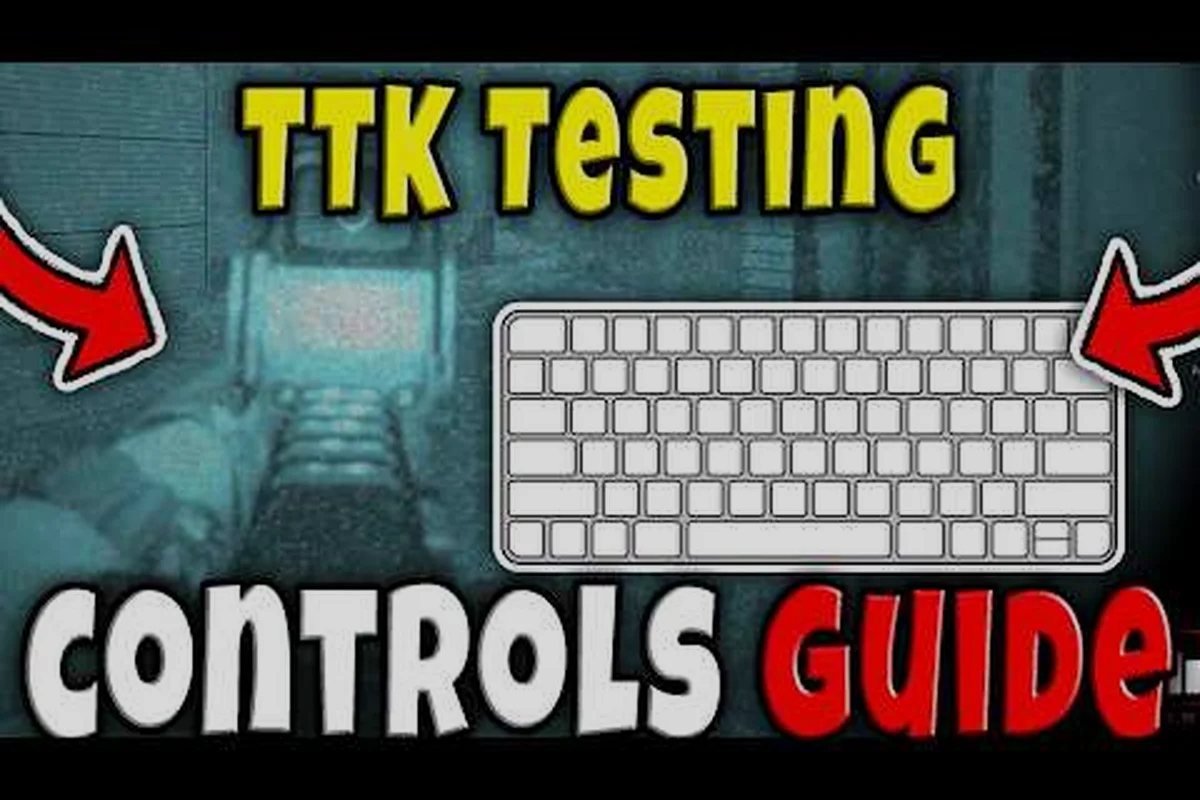
The ttk testing keybinds system is designed around the doorkicker and lean mechanics that define the game's tactical identity. Unlike most Roblox shooters, TTK Testing ships with explicit lean keys, dedicated reload and inspect slots, and a special Helmet Cam binding on P that swaps the entire viewpoint to the helmet-mounted camera. The official controls explainer video by Radex Tips confirms the standard layout, which is the version most PC players should start from before customizing.
| Action | Default Key | Why It Matters | Rebind Tips |
|---|---|---|---|
| Fire | M1 (LMB) | Primary damage input | Keep on LMB, do not rebind |
| Aim Down Sights (ADS) | M2 (RMB) | Activates optic, slows sensitivity | Keep on RMB for muscle memory |
| Crouch | C | Reduces hitbox, used behind cover | Some players move to Left Ctrl |
| Lean Left | Q | Exposes left side of cover | Common to keep on Q |
| Lean Right | E | Exposes right side of cover | Common to keep on E |
| Reload | R | Magazine refresh | Keep on R for muscle memory |
| Switch Weapon | 1, 2, 3 | Quick swap between primary, secondary, melee | Keep number binds untouched |
| Helmet Cam | P | Toggles helmet-mounted viewpoint | Most-used custom bind slot |
| Sprint | Left Shift | Increases movement speed, raises crosshair | Keep on Shift |
| Melee | V | Quick knife at close range | Some players rebind to mouse side button |
The Helmet Cam on P is the standout binding because it changes the entire field of view, not just the magnification. When you press P, the camera shifts to a slightly lower viewpoint that mimics the eye line of someone wearing a ballistic helmet, which gives a more realistic sight picture at the cost of some peripheral awareness. According to the official page, this view is meant to be paired with Transparent Optics for the both-eyes-open effect, and most competitive players keep P bound exactly where it is because muscle memory for that toggle builds up fast.
Customization Tips for Tactically-Minded Players
Most players who tweak their layout follow three rules: keep core combat (M1, M2, R, C) untouched, move lean binds only if their keyboard forces it, and place Helmet Cam on a key that their thumb can reach without looking. The side mouse buttons (Mouse 4 and Mouse 5) are popular homes for lean left and lean right because the thumb can press them while still tracking with the wrist, and they are reachable mid-spray without breaking grip. If you are migrating from a controller to mouse and keyboard, the TTK Testing settings guide has a starter layout section that maps controller habits to the equivalent PC binds so the muscle memory transfer feels less jarring.
Advanced Settings, Roadmap, and Where the Menu Is Heading
The ttk testing advanced settings panel is where the development roadmap is most visible, because new options appear in patches as the V0.x build progresses. The live build at the time of writing sits at V0.09, and the official DevForum thread confirms the roadmap includes co-op PVE survival waves, linear story missions with doorkicker mechanics, and large-scale objective Ground War. Each new mode tends to add at least one new option to the settings menu, and players who follow the DevForum can spot the additions before the patch notes drop.
| Setting Category | Current Live Options (V0.09) | Roadmap-Adjacent Options | Impact on Combat Feel |
|---|---|---|---|
| Video | FOV, Quality, Fullscreen, Motion Blur | Anti-aliasing presets, anisotropic filtering | Affects visibility and target tracking |
| Aim | Hipfire, ADS, Zoom, Controller stick | Per-optic sensitivity profiles | Affects micro-adjust precision |
| Input | Keybinds, lean binds, Helmet Cam toggle | Preset layouts (Arcade, Tactical, Veteran) | Affects reaction speed and muscle memory |
| Crosshair | Reticle type, color, opacity | Animated reticles, dynamic scaling | Affects sight picture clarity |
| Audio | Master, footstep boost, hit markers | Positional audio sliders, comms ducking | Affects situational awareness |
The roadmap also suggests that preset keybind layouts are likely to land, which would give new players a one-click alternative to the default layout. If you are picking up TTK Testing for the first time and do not want to design your own layout from scratch, hold off on heavy rebinds until the preset system lands. For now, the best path is to copy the default layout, run a few matches, and only rebind the keys that actually slow you down. Players who want a broader look at the entire settings ecosystem, including the graphics quality and crosshair customization layers, can use the TTK Testing graphics settings guide as a companion reference that focuses specifically on the visual side of the same menu.
Frequently Asked Questions
What is the default FOV in TTK Testing, and should I change it?
The default ttk testing fov is 75, which is a balanced choice for mixed PVP and PVE. Most competitive players bump it to 85–90 for better peripheral awareness in CQB, while sniper-leaning players keep it at 70 for larger target silhouettes. Test both before committing because the change is felt most during peek duels and doorframe holds.
How do I enable Transparent Optics in TTK Testing?
Transparent Optics is in the ttk testing video settings menu under the visibility section. Toggle it on, and the optic housing becomes semi-transparent, which simulates the both-eyes-open technique. The official store description recommends pairing it with Helmet Cam on P for the most realistic sight picture, especially through holographic or red dot sights.
Can I separate ADS sensitivity from hipfire sensitivity?
Yes, the ttk testing settings menu splits aim into three sliders: Hipfire, ADS, and Zoom. Most competitive players set Hipfire to 1.0, ADS to 0.7, and Zoom to 0.45, creating a pyramid where higher magnification equals slower crosshair. This setup keeps close-quarters flicks fast while preserving long-range precision.
Where is the Helmet Cam keybind, and what does it do?
Helmet Cam is bound to P by default, and pressing it shifts the camera to a helmet-mounted viewpoint with a lower eye line. The official controls explainer confirms this binding, and the recommended workflow is to pair it with Transparent Optics for both-eyes-open aiming. Most players leave P untouched because muscle memory for that toggle is the most valuable custom bind in the game.
Are controller sensitivity sliders the same as mouse sliders?
No, controller aim is governed by a single stick sensitivity plus an aim acceleration toggle, while mouse aim is split across Hipfire, ADS, and Zoom. If you are on a gamepad, expect a 40–55 starting range and keep acceleration on for smoother stick deflection near the center. Mouse players should follow the pyramid layout described earlier for the best tactical feel.