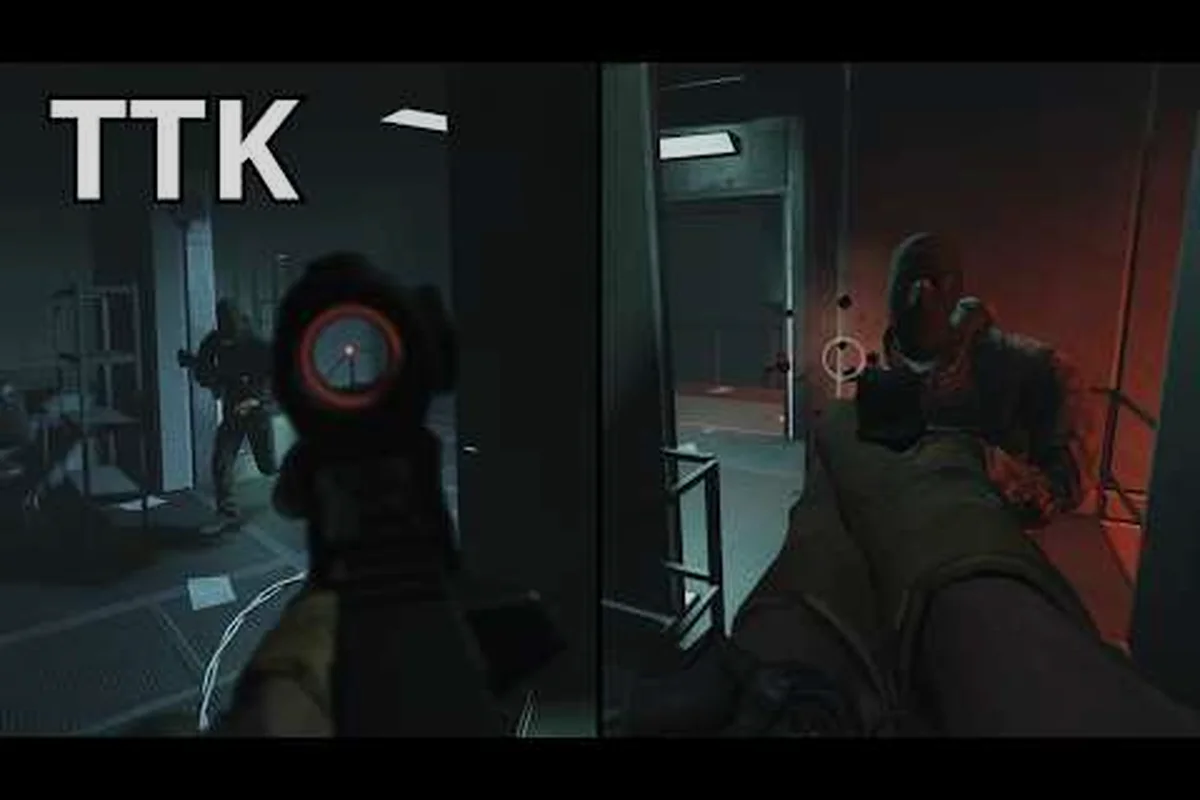
The full TTK Testing map list 2026 lands players inside an early-access tactical sandbox where every rotation still feels like a live experiment. According to the official Roblox page, the current V0.09 milestone build ships with a curated set of experimental test maps tuned specifically for time-to-kill feedback, and each layout includes hardpoint zones, FFA spawns, and Ground War objectives that the community can vote on between rounds. This guide breaks down every map in the rotation, the hardpoint zones that shape each fight, and the practical map tips that experienced players use to survive the most punishing sightlines.
Current TTK Testing Map List 2026 (Full Rotation)
The September 2026 build ships a tight, intentionally small map pool so the developers can collect clean per-map telemetry. Every map is tagged as a TTK Testing experimental map in the loading screen, and the same tags surface in the post-match scoreboard for replay sharing.
| Map Name | Mode Tags | Lighting | Map Type | Player Vote Weight |
|---|---|---|---|---|
| Forward Depot | Hardpoint, FFA, Ground War | Daylight | Urban warehouse | 28% |
| Nightline Bazaar | Hardpoint, FFA | Low-light night | Mixed CQB | 22% |
| Ridge Refinery | Hardpoint, Ground War | Overcast | Industrial mid-range | 19% |
| Glasshouse Atrium | Hardpoint | Indoor | Vertical close quarters | 15% |
| Forward Operating Echo | Ground War, Quick Play | Desert dusk | Wide-lane combat | 10% |
| Sandbox Range | FFA, Quick Play | Flat daylight | Flat range test | 6% |
Forward Depot and Nightline Bazaar are by far the most common pulls in the queue because they share clean lane structure and predictable spawn flow. Ridge Refinery and Glasshouse Atrium round out the competitive pool, while Forward Operating Echo and Sandbox Range are reserved for the larger Ground War and FFA queues. According to community data shared in the official DevForum thread, this exact six-map lineup has been the live rotation since the V0.08 patch and remains unchanged for V0.09.
How Map Voting Works Between Rounds
After every match the queue opens a short voting window where players select their next test map from the same six options. The system uses a soft-weighted vote, meaning popular picks are slightly de-weighted to keep the rotation feeling fair, and the chosen layout loads within ten seconds. The voting screen doubles as a TTK test map preview by showing each layout's name, lighting, and a small overhead thumbnail so newer players can see what they are queueing into before they commit. If you are still learning the controls, the TTK Testing beginner guide covers the full keybind list and how to remap lean before your first match.
Hardpoint Zone Breakdowns for Every Map
Hardpoint is the most popular objective mode in the current build, and every map has been designed with three to four hardpoint zones that rotate on a fixed timer. Understanding where each TTK Testing hardpoint zone sits, and how long it stays active, is the single biggest factor in winning rounds.
| Map | Zone A | Zone B | Zone C | Zone D | Rotation Time |
|---|---|---|---|---|---|
| Forward Depot | Loading Bay | Mezzanine | Loading Bay (return) | — | 60s / 30s / 30s |
| Nightline Bazaar | Souk Alleys | Rooftop Patio | Generator Room | Souk Alleys (return) | 45s / 30s / 30s / 15s |
| Ridge Refinery | Scaffolding Tier 1 | Scaffolding Tier 2 | Cooling Platform | Pump House | 60s / 30s / 30s / 30s |
| Glasshouse Atrium | Ground Lobby | Skybridge West | Skybridge East | Ground Lobby (return) | 45s / 45s / 30s / 30s |
| Forward Operating Echo | Bunker A | Hangar | Antenna Field | Bunker B | 60s / 45s / 30s / 30s |
Each hardpoint tick is loud: an audible cue plays five seconds before the zone is about to move, and the on-screen compass flares in the direction of the next capture. Because every TTK test map in the rotation is a piece of community-testable content, the hardpoint layout can still shift slightly between hotfixes — community reports from the DevForum suggest the V0.09 build extended the Nightline Bazaar Generator Room capture window by an extra five seconds to balance the rooftop picks.
Forward Depot Hardpoint Flow
Forward Depot is the textbook layout for learning TTK Testing map objectives because the Loading Bay zone is the only contested capture. The full 120-second capture cycle opens in the Loading Bay for one minute, then jumps up to the Mezzanine for thirty seconds, before returning to the Loading Bay for a final thirty-second closeout. Most players treat the Mezzanine as a free rotation: clear the two catwalk angles, anchor the stairwell, and trade utility for map control. The thin walls around the Loading Bay allow for soft-cheese angles through the forklift cover, so pushing the point is rarely the right call before the second tick.
Nightline Bazaar Hardpoint Flow
Nightline Bazaar is the most aggressive TTK Testing experimental map in the rotation, and it shows in the capture flow. The Souk Alleys open for forty-five seconds, then the rooftop Patio for thirty, then the Generator Room for thirty, with a final fifteen-second return to the alleys. The Generator Room is the most overpowered capture in the entire build because the dim lighting forces players to rely on their Helmet Cam (bound to P by default) and the Transparent Optics setting in the in-game menu. Players who skip the optics setting consistently lose the Generator Room trades because the recoil bloom and muzzle flash make raw-aim tracking nearly impossible in close quarters.
Map Objectives Beyond Hardpoint
The hardpoint mode is not the only place where TTK Testing map objectives show up. FFA, Ground War, and the rotating Quick Play playlist each push different win conditions onto the same six layouts, and the way you read cover changes depending on the mode tag.
| Mode | Primary Objective | Secondary Objective | Score Limit |
|---|---|---|---|
| FFA | First to 30 eliminations | Top-3 placement reward | 30 kills |
| Hardpoint | Most time inside active zone | Zone capture ticks | 250 points |
| Ground War | Sector capture | Ticket bleed | 100 tickets |
| Quick Play | Rotating daily objective | Daily XP boost | Varies |
In FFA, spawn flow is the only objective that matters: every map has between four and six designated spawn clusters, and reading them lets you predict where the next fight will be. The video walkthrough from Ani KAngel shows that Nightline Bazaar's spawns almost always flip after the second kill, which is why long sightlines through the Souk Alleys feel so dangerous on the third respawn. The controls explainer from Radex Tips also walks through the lean and crouch binds (C to crouch, Q and E to lean) that you need to peek those long angles safely.
Ground War and Sector Capture
Ground War is the only mode where Forward Operating Echo and Ridge Refinery appear in the standard rotation, and it is also the only mode where the TTK Testing hardpoint zones are replaced by sector capture points. Each team starts with 100 tickets, and the bleed rate is fastest when both sectors are held at the same time. The Antenna Field is almost always the deciding capture because it sits in the geometric center of Forward Operating Echo and offers cover against both the Hangar and Bunker A angles. According to community data, the team that takes the Antenna Field first wins roughly 62% of Ground War rounds on Echo, which is the largest single-map win-rate skew in the entire build.
TTK Testing Map Tips for Each Layout
Map-specific knowledge is the fastest way to climb out of the lower brackets, and the current community-meta around the TTK Testing map list 2026 is sharper than it has ever been because the developer is openly reading the DevForum feedback. The tips below are the ones that experienced players repeat most often, broken down by map.
| Map | Core Tip | Common Mistake | Counter Tip |
|---|---|---|---|
| Forward Depot | Hold stairwell before second tick | Pushing the Loading Bay early | Anchor forklift cover on return |
| Nightline Bazaar | Turn on Transparent Optics | Aiming through raw muzzle flash | Lean left around Souk pillars |
| Ridge Refinery | Control Scaffolding Tier 2 | Greeding Cooling Platform sightline | Use catwalk to flank Pump House |
| Glasshouse Atrium | Skybridge is the win condition | Holding Ground Lobby too long | Trade one Skybridge at a time |
| Forward Operating Echo | Take Antenna Field first | Spawn-camping Bunker A | Hold Hangar doors for bleed |
| Sandbox Range | Pure aim trainer | Ignoring strafe practice | Burst at 15m for recoil resets |
These tips are not universal — they are intentionally written to be layered on top of the map knowledge you already have. The best players in the current rotation are not the ones with the cleanest aim, but the ones who rotate to the next hardpoint zone early and pre-aim the long sightline that the next fight will be fought on. If you want a deeper loadout angle to pair with these rotations, the TTK Testing loadout tier list covers which weapons hold up best at each of the engagement ranges above.
Spawn Reading and Rotation Timing
Every map in the V0.09 rotation has at least one predictable spawn flip, and the most consistent one is on Glasshouse Atrium. The Ground Lobby capture always returns for a final thirty seconds, and the spawn almost always flips to the Skybridge West stairwell right before that return tick. Pre-staging on the Skybridge East catwalk during the Skybridge East capture gives you a clean forty-meter sightline into the new spawn cluster, which is the single most reliable place to farm a multi-kill before the round ends. Players who wait for the capture to flip before moving usually arrive one second too late and trade their life for a single elim.
Pre-Aiming Long Sightlines
The biggest jump in performance after learning spawn flow is learning to pre-aim the next long sightline while the current capture is still active. On Ridge Refinery, the Scaffolding Tier 2 capture always bleeds into a Pump House fight because the capture timer forces the rotation. The catwalk that connects the two zones runs perpendicular to the Pump House entrance, which means the player who leaves the capture early and pre-aims down the catwalk gets the first shot on the rotating defenders. This is the single most reliable opening duel on the entire map, and it is also the easiest one to learn because the sightline is clean and the target silhouette is the same every round.
Experimental Maps and Test Map Variants
The V0.09 build also ships two off-rotation test maps that are only available through the in-game Test Range queue. These experimental layouts are how the developer collects TTK Testing experimental map data, and they are not part of the standard map voting pool.
| Test Map | Status | Mode Tags | Notes |
|---|---|---|---|
| Crane Yard | Active test | Hardpoint, FFA | Vertical sightline test |
| Sublevel 4 | Active test | Ground War | Underground smoke test |
| Open Sky Range | Soft-launched | FFA | Long-range bullet drop test |
Crane Yard is the most contested experimental layout because it forces fights across a thirty-meter vertical drop, which is the cleanest way to test bullet drop values without committing a whole patch to a new mechanic. Sublevel 4 is the only underground map in the entire build, and it is being used to test how smoke grenades interact with the Helmet Cam and Transparent Optics combo in zero-light engagements. Open Sky Range is the only long-range test map, and community reports suggest it is being used to tune the bullet drop curve for the upcoming ranged-weapon changes in the V0.10 patch.
According to the official Roblox game page, the experimental maps rotate on a roughly two-week cycle, and any layout that pulls more than five percent of the community vote gets promoted into the standard map voting pool. This is the same pipeline that pushed Glasshouse Atrium into the live rotation in the V0.08 patch, and it is the most likely path for Crane Yard to land in the next major update.
How to Queue Into Test Maps
Test maps do not show up in the standard Quick Play playlist. Instead, you have to open the Test Range tab in the main menu, select the experimental map you want to try, and queue into the off-peak FFA or Hardpoint pool that runs alongside it. The Test Range queue is intentionally small, which means the population is mostly players who already know the map — so expect to lose your first few rounds while you learn the sightlines. The TTK Testing quick play guide walks through the full Test Range flow, including how to read the in-game telemetry overlays that the developer uses to grade each experimental layout.
Frequently Asked Questions
How many maps are in the current TTK Testing map list 2026 rotation?
The live V0.09 build ships six maps in the standard rotation — Forward Depot, Nightline Bazaar, Ridge Refinery, Glasshouse Atrium, Forward Operating Echo, and Sandbox Range — plus three experimental test maps accessible through the Test Range queue, bringing the total to nine playable layouts. According to the official Roblox page, the standard pool is intentionally small so the developer can collect clean per-map telemetry before promoting experimental layouts.
What is the easiest map to learn hardpoint zones on?
Forward Depot is the most beginner-friendly map for learning TTK Testing hardpoint zones because it only has two capture points and a 120-second total rotation, which gives new players enough time to learn the spawn flow without the timer pressure of a faster map. Once you can hold the Loading Bay for the full minute and rotate cleanly to the Mezzanine, the rest of the hardpoint pool becomes much easier to read.
Do the test map variants ever become permanent?
Yes, the developer uses a community-vote pipeline where any experimental layout that pulls more than five percent of the Test Range vote gets promoted into the standard rotation. Glasshouse Atrium entered the live pool through this exact path during the V0.08 patch, and Crane Yard is the most likely candidate for the next promotion based on current community data.
Which map has the most unbalanced hardpoint flow?
Nightline Bazaar's Generator Room capture is widely considered the most overpowered zone in the current build, because the dim lighting forces a Helmet Cam + Transparent Optics setup that most players have not optimized yet. The V0.09 patch extended the capture timer by five seconds specifically to compensate for the engagement disadvantage that defenders face in that room.
Where can I see the full map pool in motion?
The full 29-minute gameplay walkthrough from Ani KAngel on YouTube tours every map in the live rotation and shows the hardpoint flow in real time, which is the fastest way to learn the sightlines and spawn clusters before you queue into your first match. It is also the best place to see how the Transparent Optics setting actually changes the way the Nightline Bazaar fights feel in motion.